Achieving perfect angles with your miter saw is crucial for professional-looking woodworking and DIY projects. A misaligned fence can lead to frustrating inaccuracies, wasted material, and compromised project quality. Fortunately, adjusting your miter saw fence is a straightforward process that can be completed in a few simple steps, ensuring your cuts are always precise and true. This guide will walk you through the necessary adjustments to get your miter saw cutting perfectly square.
Why Your Miter Saw Fence Needs Adjustment
Over time, or even straight out of the box, a miter saw’s fence can become misaligned. This can be due to vibrations during use, accidental bumps, or manufacturing tolerances. A misaligned fence will result in cuts that are not perfectly square or at the intended angle, leading to gaps in joints, uneven edges, and overall poor craftsmanship. Regular checks and adjustments are essential for maintaining accuracy and extending the life of your saw.
Tools You’ll Need for Adjustment
Before you begin, gather a few essential tools. You’ll need a reliable combination square or a machinist’s square to check for squareness. A straightedge, preferably a metal one, will also be useful for checking the fence’s flatness. Additionally, have the appropriate wrench or Allen key for your saw’s fence bolts, which are usually found in your saw’s manual or included with the tool. A marker or pencil can also be helpful for making temporary marks.
- Combination square or machinist’s square
- Metal straightedge
- Wrench or Allen key (specific to your saw)
- Safety glasses
- Dust mask
Step-by-Step Miter Saw Fence Adjustment
|
Our Picks for the Best Miter Saw in 2026
As an Amazon Associate I earn from qualifying purchases.
|
||
| Num | Product | Action |
|---|---|---|
| 1 | Metabo HPT 12-Inch Compound Miter Saw | Xact Cut LED Shadow Line System | Dual Bevel | C12FDHB |

|
| 2 | Seesii Mini Circular Saw with Laser Guide,4.8A 4000 RPM Compact Corded Circular Saw with Rip Guide,3 Blades (4-1/2") for Wood,Soft Metal,Tile,Plastic Cutting,Max Cut Depth 1-11/16"(90°),1-1/8" (45°) |
|
| 3 | WEN Universal Collapsible Miter Saw Stand, 350-Pound Capacity (MSA200) |
|
| 4 | WEN MM0713 9.5-Amp 7.25-Inch Single Bevel Compact Sliding Compound Miter Saw with LED Cutline Guide, Black |
|
| 5 | Stanley 1-20-600 Saw Storage Miter Box with Saw, Black |
|
| 6 | Makita LS0816F 8-1/2” Slide Compound Miter Saw |
|
| 7 | SKIL 3601-02 Flooring Saw with 36T Contractor Blade, Red and black |
|
| 8 | Olson Saw 35-241 Fine Kerf Saw 35-550 42 tpi with Aluminum Thin Slot Miter Box, Slot Size .014-Inch, Slot Angles 45, 60, 90, Cutting Depth 7/8-Inch, Pack of 1 |
|
| 9 | HAUTMEC 14 Inch Clamping Miter Box with Adjustable Jaw & 4 Anti-Slip Clamps, Heavy Duty ABS Mitre Saw Box with 22.5°, 45°, 90° Cutting Angles for Woodworking, Trim, Frames, DIY Projects – HTHDM25036 |
|
| 10 | Miter Saw Laser Guide - Miter and Portable Saw Laser Guide, Miter & Portable Saws |
|
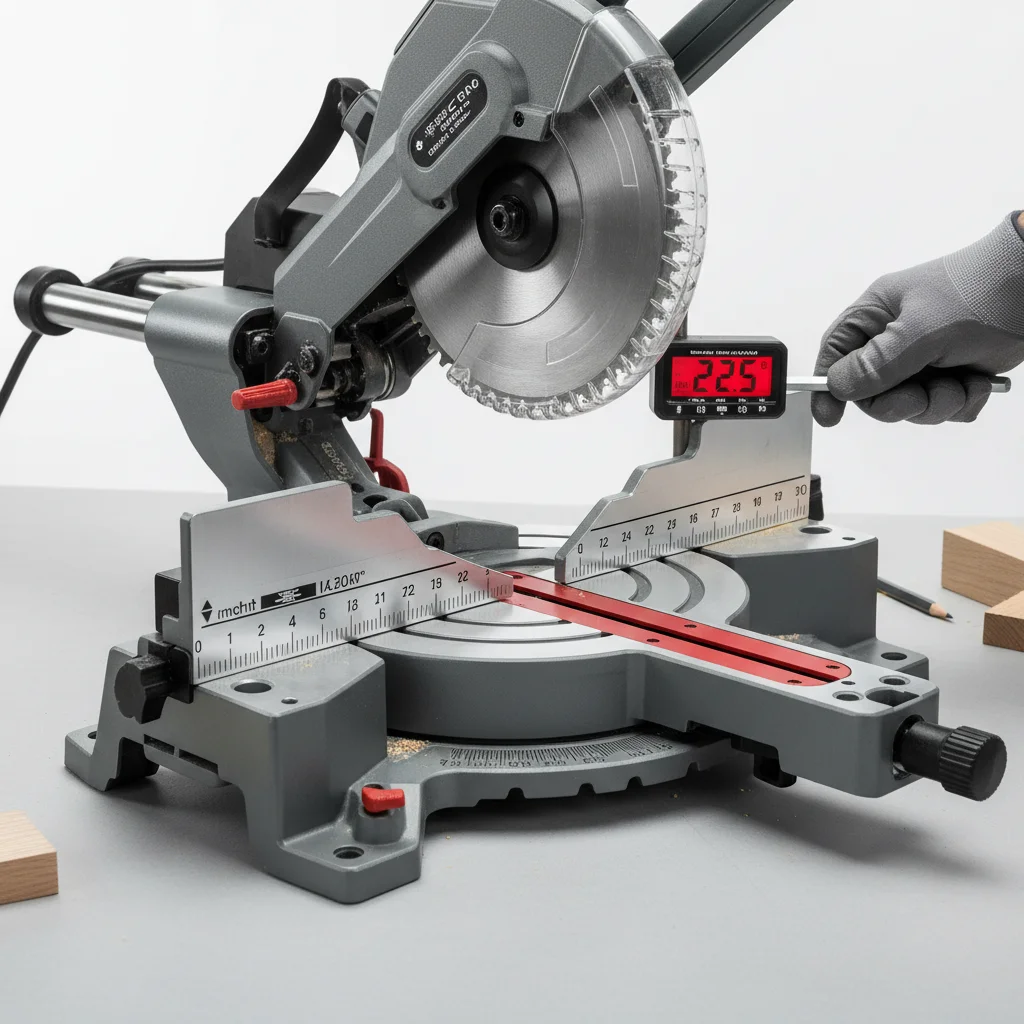
The process of adjusting your miter saw fence typically involves checking for squareness against the blade and the table, then loosening and repositioning the fence. First, unplug your saw for safety. Lower the blade completely and lock it in the down position. Place your square against the blade and the fence. If there’s a gap, your fence needs adjustment. Loosen the fence bolts, usually located on the back or top of the fence, just enough so you can slide the fence. Carefully adjust the fence until it is perfectly square to the blade. Tighten the bolts securely, then recheck with your square. Repeat this process for both sides of the fence if it’s a two-piece design.
Next, check the fence for flatness using your straightedge. Lay the straightedge along the entire length of the fence. Look for any gaps or high spots, which could indicate a bent or warped fence. While minor imperfections might be acceptable, significant warpage could affect cut quality and might require a replacement fence. Most modern miter saws have robust fences, but it’s always good to check.
Testing Your Miter Saw Fence Adjustment
After making adjustments, it’s crucial to test your miter saw’s accuracy. Take a piece of scrap wood and make a test cut. Use your combination square to check the cut for squareness. If the cut is still not perfectly square, repeat the adjustment process, making smaller, more precise movements. Sometimes, it takes a few attempts to get it just right. Remember to always make test cuts on scrap material before working on your final project pieces.
Maintaining Your Miter Saw Fence
Regular maintenance will help keep your miter saw fence in top condition. After each use, clean any sawdust or debris from the fence and the saw table. Periodically check the fence bolts to ensure they are tight. If you notice any signs of wear or damage, such as nicks or bends, consider replacing the fence. A well-maintained fence is key to consistent accuracy and safety.
Get our weekly buyer guide
Practical specs, not advice. Unsubscribe anytime.